
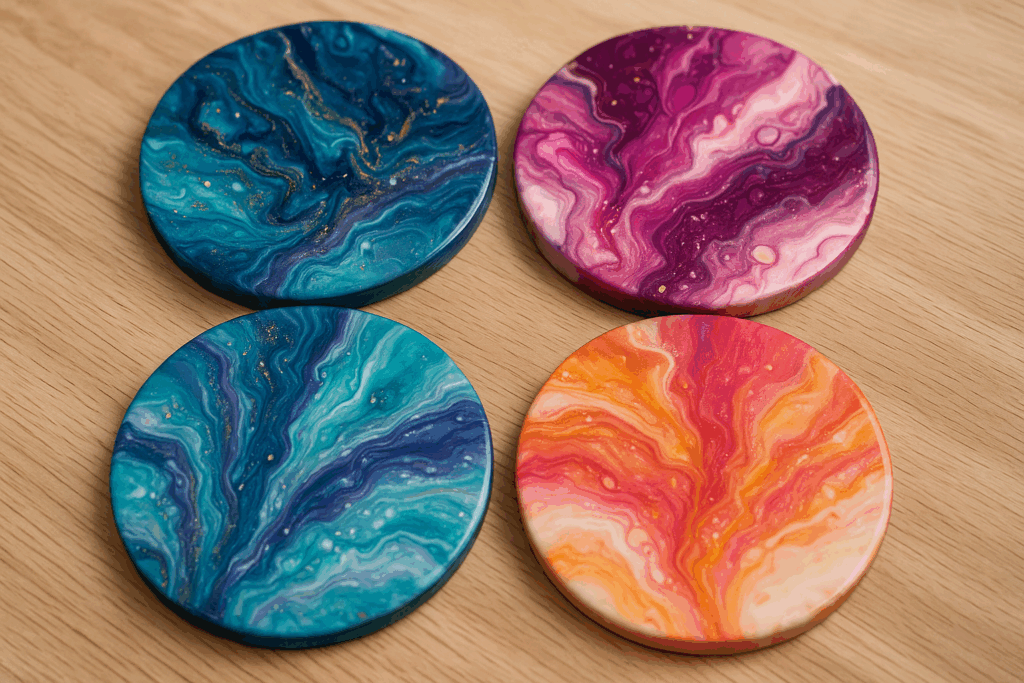
Do you have coasters made ofresin, that didn’t turn out well?
Here’s how to refresh them instead of throwing them away.
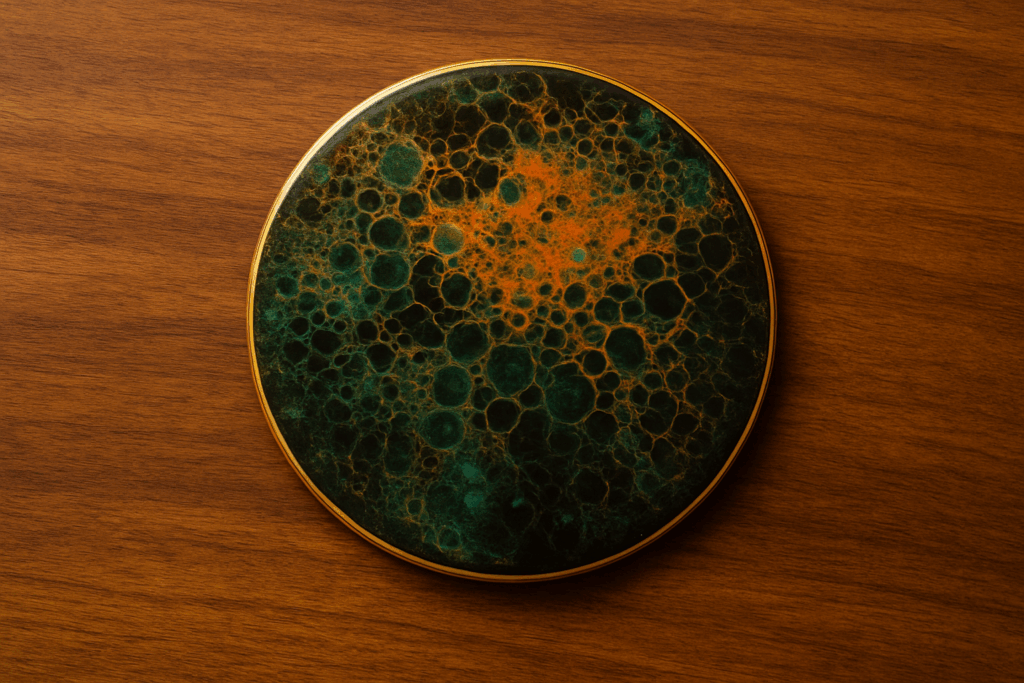
Not every resin project turns out perfect – and that’s okay. It’s normal to end up with a few things that don’t go as planned, especially when learning new techniques. If you have a pile of resin coasters, don’t throw them away! With a little creativity, these imperfect coasters can become something beautiful and brand new.
You may have heard of a fluid art technique called “Dutch pour,” where a hairdryer or heat gun is used to blend paint into beautiful, organic designs. We will use this technique, but with colored epoxy resin instead of paint.
Follow the steps and see how you can breathe new life into your imperfect resin coasters!
What you will need:
On our website arthdecor.com you can find the epoxy resin and materials you need.
Prepare:
- A “failed” epoxy resin coaster
- Liquid latex — to protect the back from drips
- Foam brush — for applying the liquid latex
- Epoxy resinAHD50for casting up to 2-3 mm.
- Disposable gloves — for safe handling
- Mixing container
- Wooden stir sticks or reusable ones
- Silicone mat to protect your workspace
- Small mixing cups and stirring sticks — one set for each pigment
- Plastic stands — to place the coasters on
- Liquid epoxy resin pigments
- Mika Powder pigment powder
- Outline marker – silver or gold
- Mini torch — to remove bubbles
- Hairdryer with nozzle — to blend resin layers
- Or heat gun
- Dust cover — to protect your piece during curing
Step 1: Preparing the coasters
Първо е необходимо да излеете слой от задната страна на подложката. По лична преценка може да е един по-тъмен цвят така, че да се прикрие вече съществуващия. Може да нанесете течен латекс на страната на която няма да изливате смола с помощта на четка от пяна за еднократна употреба. По този начин, ако някаква смола се разлее по страните, тя ще се втвърди върху течния латекс, а не върху подложката. Може да нанесете един по-дебел слой или два по-тънки. След като смолата се втвърди напълно, просто отлепете латекса заедно с всички капки, оставяйки чист, гладък гръб — не е необходимо шлайфане.
💡 Tip: There’s no need to cover the edges of the coasters. You can let the epoxy resin flow naturally and color the edges with a gold/silver marker for a finished look.
After covering the backs, place the coasters on stands – for example, upside-down paper cups – and let them dry. Once dry, they are ready to be flipped over and the new design work can begin!
Step 2: Preparingepoxy resin
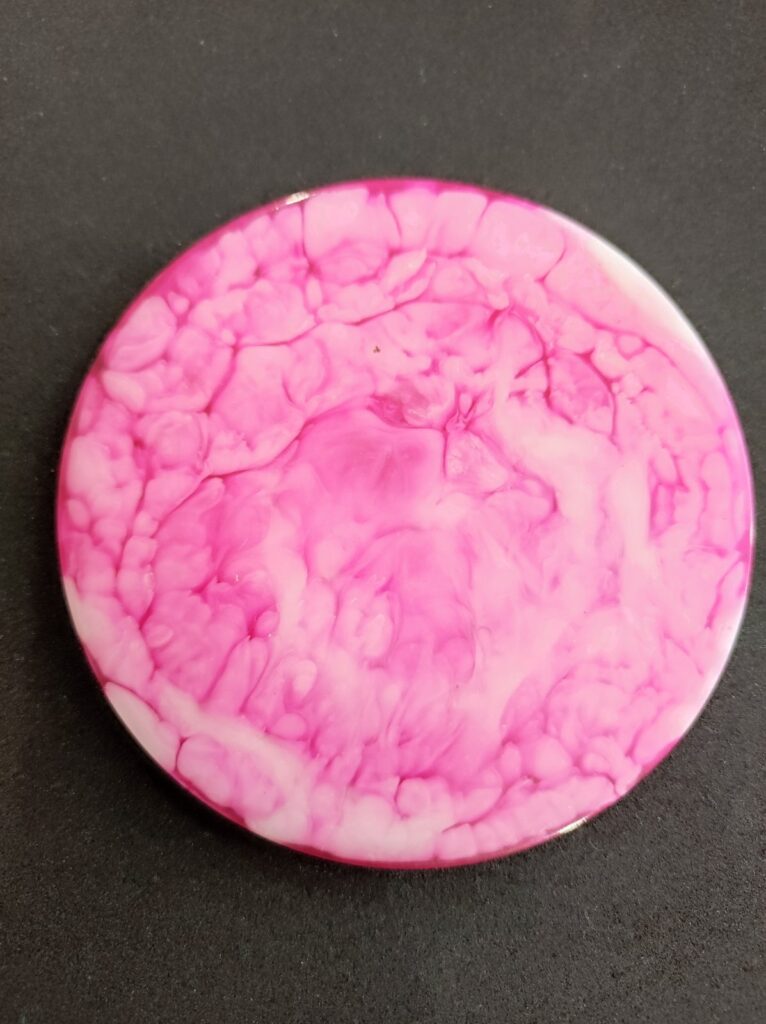
On our website you can find an electronic calculator. After entering the dimensions of your coaster, you can roughly calculate the amount of resin you need. AHD 50 mixes 1:1 resin+hardener. After weighing them on an electronic scale, mix slowly for 3-5 minutes, carefully scraping the sides and bottom of the cup to ensure everything is well mixed.
Once the resin is mixed, distribute it into separate cups to color it in as many colors as you have decided, making sure to have one main color.
💡 TIP: Use pigment paste for epoxy resin, not just Mika powder, as the paste usually gives richer results and finer details.
After mixing each of your colors in the cup, quickly torch them with the mini torch to remove all surface bubbles, preparing them for pouring.
Step 3: Pouring the resin
First, wipe your coaster with isopropyl alcohol to create a clean surface for the new resin layer.
Then cover the entire top of each coaster with the green base color. Use your stir stick to carefully guide the resin towards the edges.
💡 TIP: Don’t worry if the resin spills over the sides. In the next step, the hairdryer will blow the resin along the edges.
Before moving on to the accent colors, quickly pass the torch over the surface to remove any bubbles.
Now the fun part – creating your fluid art design! There are so many ways you can apply the accent colors – you can pour them in circles, layer them on top of each other, or create overlapping lines.
Start layering from the darkest to the lighter color and finally the one with pearlescent particles.
Set your hairdryer and attach the nozzle. Hold it at an angle, blowing the resin outward toward the edge of one half of the coaster, then the other. Here you can fully unleash your imagination and create shapes to your liking.
💡 TIP: You can use a heat gun if you prefer.
Once you feel a bit more confident, you can start experimenting with the hairdryer’s movement to find the effects and composition you like best.
Again, quickly remove bubbles on the surface with the torch, without holding in one spot. This will pop bubbles but also encourage cell formation and help the Mika powder color rise to the surface. Let the piece sit for a few minutes to allow more cells to develop.
If you wish, you can take some resin drops from your work surface with a gloved finger and carefully apply it to the sides where you feel resin is missing.
Once all coasters are poured, let them sit for 5-10 minutes to allow cells to develop. Use the torch again if needed to encourage more cell formation. When you are happy with the design, cover the coasters with a large dust cover and let them cure overnight.
- Experimentation: Using thickened resin
Instead of pouring the resin immediately after mixing the colorants, let it sit in the cups for 10-15 minutes. While it sits, the resin will start to thicken, which helps the design hold its shape better and reduces blending compared to freshly mixed resin.
After about 15 minutes, apply the resin in the same way as before. You may find that since the resin will be much thicker, it might need a little extra spreading with a hairdryer to create the design.
Pass the torch over the design to encourage the formation of cells, which will become more defined as the resin sits. In fact, you will find that this method can lead to even larger, more defined cells!
- Experimentation: Pouring circles
Instead of applying colored lines, apply small circles of resin, layering them on top of each other. Then blow the resin outward in one direction, and then the other, making sure to leave some space.
This technique creates a slightly different composition with large, defined cells.
Step 4: Final decorations
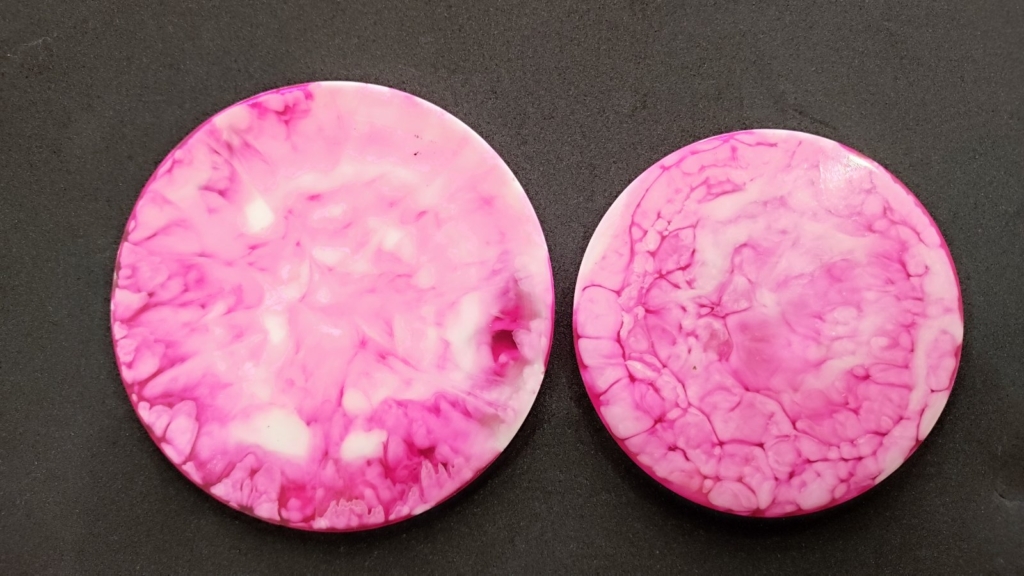
The next day, after the resin has hardened, peel off the liquid latex and drops. The latex should come off easily, although you may need to apply a little pressure to release any stubborn drops.
Once the latex is removed, you can apply a clear layer of resin on both sides of the coasters for a polished finish.
Then, after the coasters dry, use a marker to carefully finish the edges. If there are sharp or uneven areas, you can lightly sand them smooth before applying the gold/silver. You can also apply a light coat over the top edge of the coaster for a more finished look.
💡 TIP: Markers with a pointed tip are best suited for this technique.
💡 TIP: Work quickly with the pen before the gold paint dries. If you need to clean up mistakes, a little isopropyl alcohol on kitchen paper will do the trick.
We hope you enjoyed learning how to recycle imperfect coasters – it’s a great way to develop your skills and get the most out of your materials. Every artist encounters a few obstacles along the way, but that doesn’t mean your work is a lost cause. Don’t throw away those imperfect coasters – transform them into something new, beautiful, and unique.