
What are the necessary steps:
- Step 1: Gather your materials
- Step 2: Prepare the resin
- Step 3: Add the colorants (pigment)
- Step 4: Pour the resin
- Step 5: Decorate with gold, glitter, glass beads
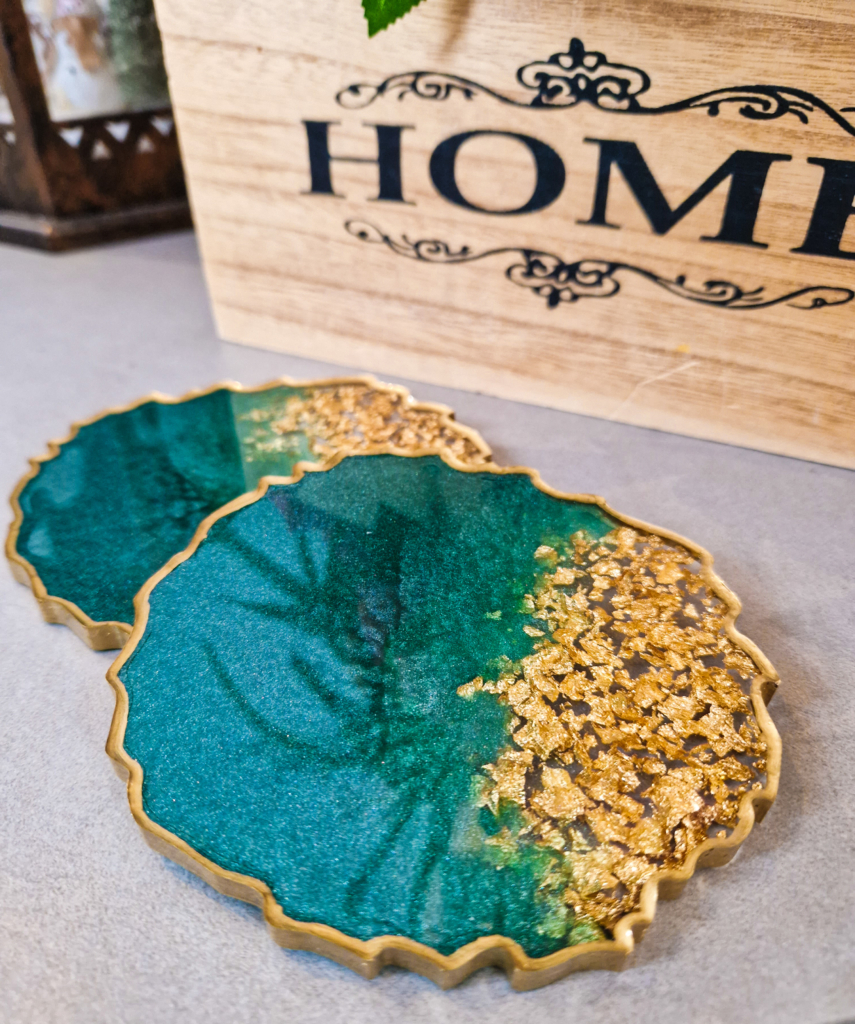
Have you ever wondered how resin artists create beautiful coasters? The secret lies in the type of epoxy resin, the colorants, the decorations you want to include, as well as how the colored resins interact when poured into the mold.
In this tutorial, we at Art Home and Decor will show you how easy and enjoyable it is to make a beautiful coaster yourself.
Let's get started!
What materials are needed:
- Silicone coaster molds
- Epoxy Resin AHD30
- Disposable gloves
- Protective mat
- Mixing container
- Stirring stick
- Small mixing cup
- Stirring stick for each colorant used
- Green and blue pigment
- Gold/silver glass beads
- Or gold/silver flakes
- Outline marker
- Lid to cover against dust
- Heat gun or torch
Step 1: Preparing the materials
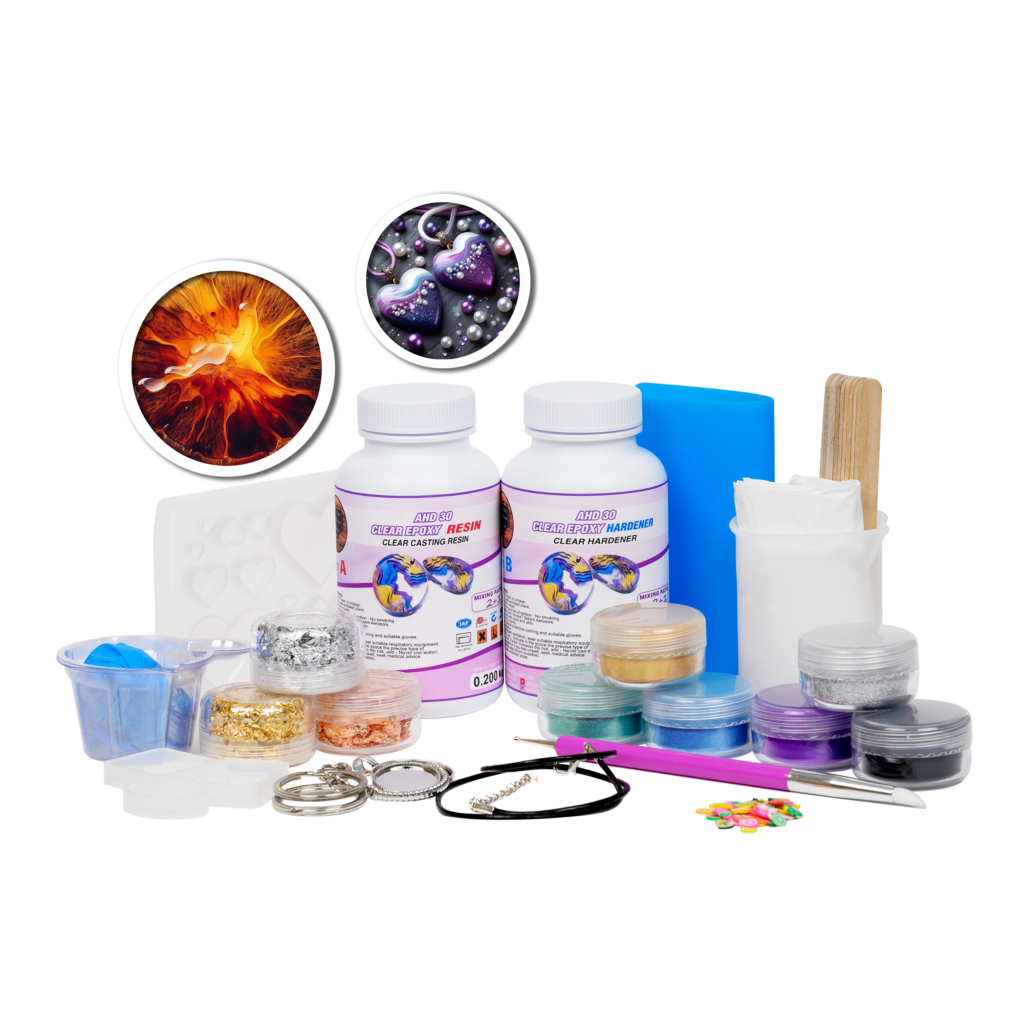
When you start working with resin, prepare all your materials and tools before measuring and mixing. Lay down your work surface with the silicone mat to keep your workspace clean.
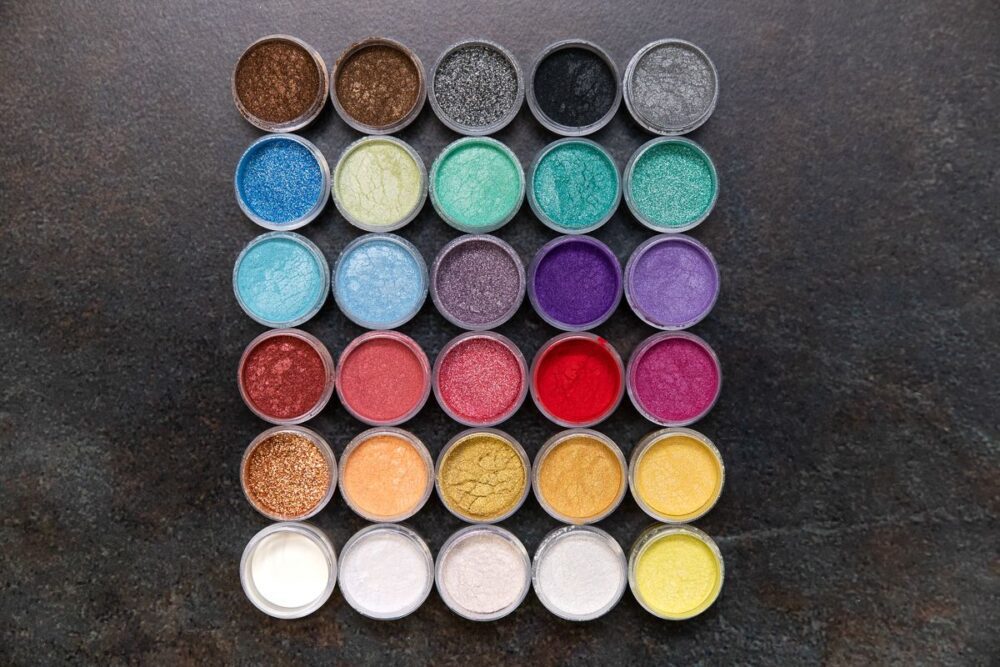
In this tutorial, green, blue, and gold shades are used, but feel free to explore other color combinations – searching for color palettes on our website https://arthdecor.com/ is a great way to find inspiration!
Although you can customize the colors, remember to use a combination of epoxy resin, at least two pigment colors for a more interesting effect, beads and flakes, and a marker to give your coaster a finished look. You can achieve different effects by pouring the colored resin in different orders into the mold.
Step 2: Preparing the resin
With glovesmeasureon a scaleand mix the resin and hardener according to the label instructions, in this case with AHD30 – 2 parts resin to 1 part hardener. For the coaster indicated in the required materials, about 130 grams total of epoxy resin and hardener is needed. Pour the two components into a measuring cup and stir slowly for 3–5 minutes until the mixture becomes clear and homogeneous. Slow stirring is key to avoid creating more bubbles!
💡 TIP: If your resin has crystallized (which sometimes happens when stored in cooler rooms), heat the closed resin and hardener bottles in a warm water bath until the crystals fully melt. Make sure the water does not come into contact with the resin and dry the bottles thoroughly before opening.
Step 3: Adding the colorants
Divide the resin into as many equal parts as the number of colors you want your coaster to have: pour it into smaller cups, one for each colorant, and leave the remaining clear resin in the mixing cup.
Add pigment colorant to the small cups.
Stir well.
Step 4: Pouring the resin
Make sure the silicone mold is clean and dry:
- Start by pouring resin around the outer edge of the mold with the first color;
- Then pour several circles of the second color you prepared;
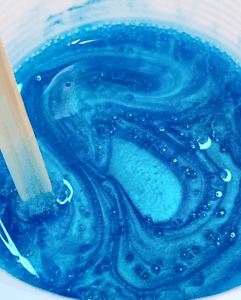
- Pour the clear resin in the center of the mold to push the colored resin toward the outer edges;
- Now is the time to place gold leaf, glass beads, glitter, or any other decorative elements you want in the center. In a small cup, mix the crushed gold glass, gold leaf, or glitter with a small amount of resin, enough to cover. The mixture should be thick enough not to run. Using a stick, place a small amount in the center of the silicone mold;
- If needed, you can add more clear or colored epoxy resin until the mold for your coaster is completely filled;
- Use a torch or heat gun to remove all bubbles, but work quickly to avoid burning the resin or molds;
- Cover with a dust lid and let cure for about 36 hours.
Step 5: Demolding
Remove the coasters from the mold around the 36th hour.
For a more finished look, you can color the edges with the gold (or silver) marker.
If the edges are sharp, you can carefully smooth them with fine sandpaper.
🎉 Done!
Now you have a unique, handmade coaster that you can use at home or give as a gift. Experiment with colors and shapes – the possibilities are endless!