
What you will learn in this lesson:
- What is resin jewelry?
- What can you embed in your jewelry?
- How to make resin jewelry and why choose our AHD30 epoxy resin?
- Can you make your own silicone molds for resin jewelry?
- How to make resin jewelry with custom silicone molds?
- What do you need to start making resin jewelry?
- How to quickly and easily make your own silicone molds for resin jewelry with our mold silicone?
- What are the steps to creating perfect resin jewelry?
What is resin jewelry?
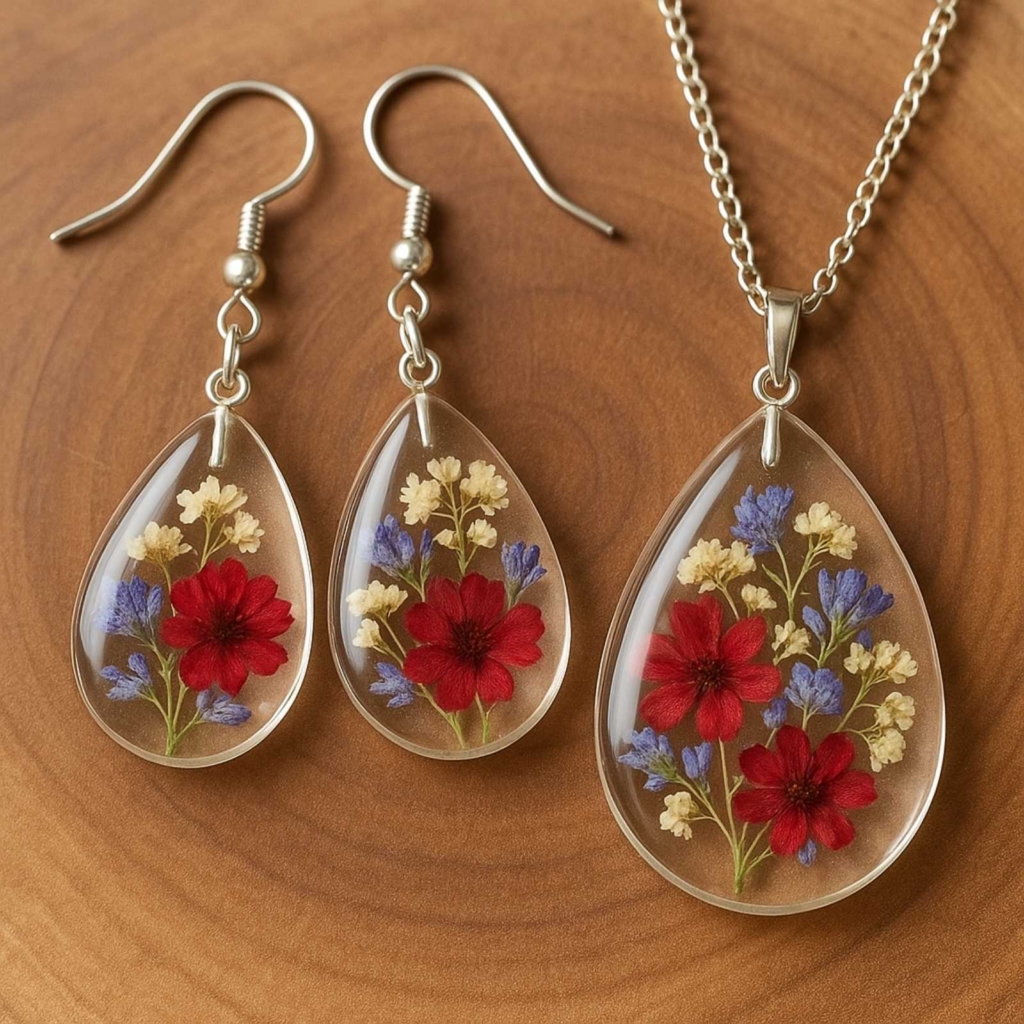
✨ Resin jewelry is handmade accessories created by mixing clear or colored epoxy resin with various decorative elements, which are then poured into molds and left to harden. The final result is a hard, glossy, and very striking piece of jewelry that can be completely unique. These are modern, beautiful, and often personalized accessories that can include various embedded elements such as:
- dried flowers
- shells, sand, small pebbles
- glitter, colored pigments or inks for “marble,” “ocean,” “galaxy” effects, etc.
- beads, wooden elements, sequins, foil, Scandinavian moss
- miniature figurines
- metal elements
- small inscriptions cut by plotter
and many more, according to your imagination.
✨ The ease of use, gloss, and beauty of epoxy resin are ideal for making resin jewelry. These are the reasons resin is so popular among artists, craftsmen, and jewelry makers. You can make pendants, earrings, necklaces, bracelets… in so many different ways.
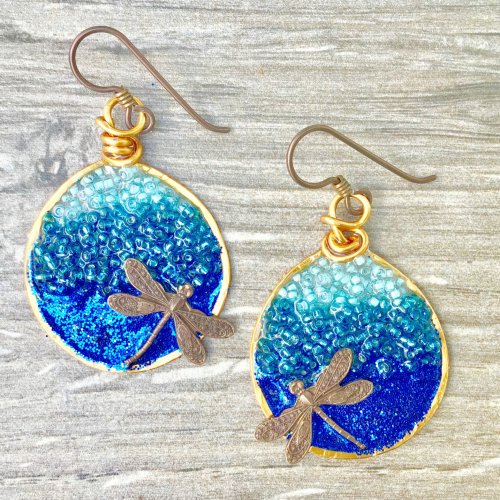
✨ Resin jewelry is fun and easy to make, and you can craft handmade designs that suit your individual taste and style. Our DIY resin jewelry tutorial offers endless possibilities for creating exquisite pieces for yourself, as gifts for friends and family, or for sale in your own resin business!
Why are they popular?
✅ Uniqueness – Each piece of jewelry is different.
✅ Handmade – Valued for the time and creativity invested.
✅ Lightness – Lighter than metal jewelry.
✅ Design flexibility – Suitable for all styles – from boho to minimalist.
What can you embed in your jewelry?
Need more specific ideas for your jewelry? Here are a few that will give you a wonderful look:
🌿 Natural inspirations
🌺 Pressed flowers and leaves: Beautiful necklaces, earrings, and rings with embedded pressed flowers like chamomile, lavender, and violets. These pieces capture the beauty of nature and preserve it in clear resin.
💎 Miniature terrariums: Small terrariums in jewelry containing moss, mini plants, or dried flowers. These accessories offer a unique way to carry a piece of nature with you.
🌱 Seeds and feathers: Jewelry including dandelion seeds or bird feathers, creating an airy and light design.
✨ Geometric and abstract designs
- 🔮 Geode effects: Jewelry mimicking geodes by adding crystal particles or gold flakes into the resin. These accessories give an elegant and mystical look.
- 🎨Palettes and layers: Using different color layers and pigments to create unique and modern shapes.
🌌 Themes and effects
- 💫Galactic and star motifs: Jewelry with night sky effects, including dark blue and black shades with added gold or silver particles.
- ☀️ Glow in the dark: Using fluorescent pigments to create jewelry that glows in the dark, adding a magical effect.
How to make resin jewelry and why choose our AHD30 resin?
Making resin jewelry is an easy and enjoyable creative process. There is nothing to go wrong with when working with our resins if you follow the instructions. You can make jewelry by pouring resin into a mold. You can decorate it with colorants or additives to give it a one-of-a-kind look. The resin will harden permanently to the shape of the mold from which you will remove it without any problem.
Why choose our resin:
AHD30 is ideal for making jewelry and other accessories. It can be used as a coating with a varnish function. Fast-drying epoxy resin. Applied in a single layer 1 cm thick. Suitable for casting with layering possibility after full drying. Solvent-free – no odor, contains no alcohol components or solvents.
Can be used at home. With extra UV protection, it does not yellow. It is resistant to internal and external weather conditions. Its working range is up to 60 minutes.
Our epoxy resin is developed with its transparent structure and is resistant to yellowing for jewelry and other items. The final result is a shiny and glossy surface.
Mixing ratio 2 to 1 (2 parts resin mixed with 1 part hardener).
4-6 hours in gel state, 12-18 hours before touching, 24-36 hours to fully dry.
Can you make your own silicone molds for resin jewelry?
Yes. By creating your own resin jewelry molds, you have the freedom to make them even more unique. You can copy and breathe new life into an antique or heirloom piece of jewelry with sentimental value or transform an item you own into a unique work of art.
Our RTV2 silicone will help you realize your mold ideas.
Its advantages are:
- it is a translucent liquid silicone of European origin;
- made from safe silicone material, non-toxic and odorless;
- flexible, soft, and translucent;
- suitable for coloring with liquid and powder pigments;
- easy to work with;
- no special skills or tools are required.
The silicone mold making kit includes parts A and B, the mixing ratio is printed on each package.
Whether you want to copy a flat element or a 3D object, there are no shape limitations for the object you will make your mold from. The molds are high quality and can be used repeatedly to create hundreds of resin casts for jewelry.
How to make resin jewelry with custom silicone molds?
In this lesson you will learn:
- what materials you will need;
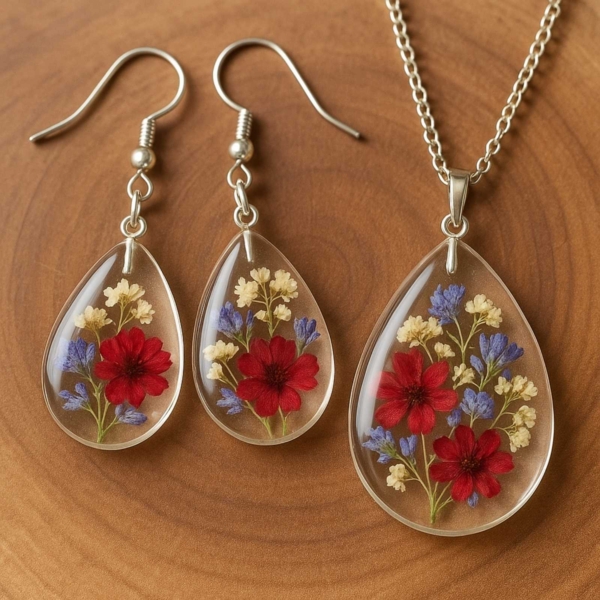
- how to use silicone to make molds to create custom jewelry shapes that you can use to make both pendants and earrings;
- specific steps for a great result;
- how to properly mix and color the resin to create beautiful art that you can wear yourself, sell, or gift;
🤗 Let's get started!
What do you need to start making resin jewelry?
Here is a list of tools and supplies you will need to make earrings, a necklace, a ring, or why not a resin bracelet with the option to create your own mold, as well as ready-made molds that you will find on our website. Some materials are not mandatory. They are listed in case you need ideas on what to include in your jewelry and where to find it on our site.
- The item you want to make a mold from;
- A container for your jewelry mold, slightly larger than the item.
- Silicone for mold making
- Epoxy Resin AHD30
- Several pairs of disposable nitrile gloves
- Plastic or silicone measuring cup:
- Disposable or
- Reusable
- Alcohol-based dyes for a more transparent effect
- Liquid dyes for more saturated colors
- Silver, gold, or copper flakes
- 4-sided nail file or sandpaper from 100-2000 grit
- Electric drill and a small drill bit
- Earring hooks, rings, necklace chain, and clasps
- Pliers, needle, and cutting tools
- Decorative elements you want to include
- Metal pendant
💁♀️ Here you can check out our starter kit for jewelry making, which we have made easier for you by gathering everything needed to make beautiful jewelry in one place.
How to make your own silicone molds for resin jewelry quickly and easily with our silicone for molds?
Step 1: Prepare the object you want to make a mold from.
If you want to cast a round object that has no flat bottom, you will need to create a two-part mold. Here we will show you how to cast a flat object to make a custom resin jewelry mold.
To build resin jewelry molds, you will need a silicone mold, a plastic container that you can cut later (for example, a cup) or a plastic-lined container slightly larger than the item you want to cast.
💡TIP: It is recommended to glue the item you will mold to the bottom of the mold. This ensures it stays in place after the mold material is poured on top. A small drop from a hot glue gun is enough to fix it.
Step 2: Measure and mix the mold making material
Our mold silicone is easy to work with. It consists of two parts – silicone + hardener, which when mixed together, cure from liquid silicone to flexible rubber with Shore 30 hardness.
Изсипете част A и част B заедно в чист съд за смесване и необходимото ви количество, спазвайки пропорциите на опаковката. След това разбъркайте внимателно двата компонента за около 5 минути, като се уверите, че сте разбъркали добре сместа за по-добри резултати. Работното време на течната силиконова смес е 20 до 30 минути, а времето за пълно втвърдяване е 8 до 15 часа при стайна температура, което зависи от размера и дебелината на формата. Разбъркайте бавно, за да избегнете появата на излишни мехурчета.
Step 3: Pour the mold material over your object
Pour the mixed product slowly in one spot, letting it flow evenly into the mold and self-level.
Since the elements are glued, you don't need to worry about them floating. Let the silicone cure for 8-15 hours at room temperature until it stops being sticky to the touch.
Step 4: Remove the object from the mold
Carefully remove the hardened silicone from the mold in which you cast it and turn it to loosen it slightly. You can use a craft knife to remove the acrylic mold or to clean the rough silicone edges with a craft knife.
Step 5: Prepare the AHD30 epoxy resin
Calculate the amount you will need according to the size of the jewelry you want to create. On our website, you will find a calculator we have created for your convenience. Object width (cm) Object length (cm) Object height (cm) Total volume (cm³) Required amount of resin (kg)
After putting on gloves and covering your workspace, mix the two parts of resin plus one part hardener in the reusable silicone cup (or a disposable one).
If you mix both parts in one cup, it does not matter whether you start with the resin or the hardener, as long as you measure perfectly equal amounts of each. If you measure the hardener in one cup and the resin in another, then pour the resin into the hardener, not the other way around. This is done because there is always some product left on the cup that you cannot fully collect.
По-добре е това да е епоксидната смола, за да сте сигурни, че няма да имате по-малко втвърдител и че изделията ви ще стегнат. Много е важно всичко да е измерено до точност. Правете това дори и когато използвате целите бутилки, защото те се пълнят от машини, които може да пуснат повече смола, например, а и също така, когато ги изсипвате, вътре в бутилката винаги остава количество от материалите, което ще промени пропорциите. Това би донесло риск изделията ви да не стегнат. Затова, за да бъдете сигурни, използвайте електронна везна и мерете до точност.
The second most important step after measuring the epoxy resin is thorough mixing. Using a wooden spatula or a reusable one, stir the resin very well for 4-5 minutes, scraping the sides and bottom while stirring so that the entire mixture blends well. Our resin is crystal clear, but when you mix the two parts, you will see white threads forming. This happens due to its reaction with the hardener.
You need to stir so well that they disappear and it becomes clear again. This means it has mixed completely. And to ensure there is no unmixed resin left on the walls and corners of the container in which you mix it, it is better to transfer the mixture to a new clean container and stir it a little more there.
⚠️ ❗ NOTE: These are the two most basic and important steps that you should not skip.
Step 6: Color the resin
Choose the number of colors you want to use for your jewelry and prepare that many cups. In each, add a little of the ready-to-use resin and color it with the desired colors using a spatula.
Step 7: Pour the epoxy resin into the silicone jewelry mold
Slowly pour the epoxy resin into the mold, being careful not to overfill.
💡TIP: The silicone measuring cup is useful for pouring resin into small spaces, as you can squeeze the cup to slow the flow. After you finish pouring, let the resin harden directly in the cup. The next day, simply peel the hardened resin off the silicone and reuse the cup again and again.
Fill the mold by pouring a small amount in the center. Use a thin stirrer or toothpick to spread it into narrow and small areas.
⚠️ ❗ NOTE: Do not fill the mold to the top if you plan to add alcohol ink or colored resin to avoid overflow. You can always top it up with a little more resin after the inks are added. Let the resin self-level and settle throughout the mold.
Step 8: Add colors and/or decorative elements
🎨 Powdered Mica pigments
They are extremely popular in various artistic and craft projects such as epoxy resin, soaps, and candles because of their unique properties and ability to create striking visual effects. They have no consumption rate. Add according to the desired intensity. Pearl and sparkling colors that add depth and appeal to the project. The pigments dissolve easily in the resin, ensuring even coloring.
🎨 Alcohol or epoxy dye
Liquid alcohol dyes give a beautiful transparent effect to epoxy resin. Start by adding a few drops of alcohol dye in your desired colors, scattered across the resin surface, leaving enough space for each color.
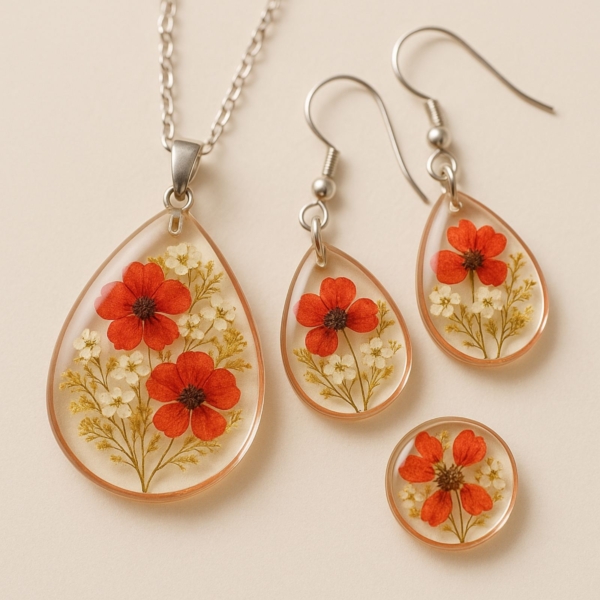
🎨 After you have poured a layer of resin (colored or not), if you wish, add small pieces of wood, Scandinavian moss, dried flowers, metal elements, or other decorative components into the jewelry mold.
🎨 You can mix glitter or flakes/foil with the resin in separate cups. Here we leave it to your imagination and ideas.
When you have added all colors and decorative elements, top up the molds with a small amount of resin if necessary.
⚠️ ❗ NOTE: It is important not to overdo the amount of liquid dye because it dilutes the resin and there is a risk it will not harden. Also, keep in mind that if you add a lot of glitter or pigment, it may take longer for your jewelry to dry. And one more thing – if you add wooden elements, weigh down the wood with small stones to prevent it from floating out of place while the resin hardens.
Step 9: Cover and wait
Place a lid over the molds to protect the piece from dust and leave them to harden for 36 hours.
Step 10: Remove the hardened resin from the mold
Carefully remove the finished hardened jewelry from the mold.
Step 14: Sand the uneven edges
Clean the rough edges to a nice, smooth finish after the resin has fully hardened. You can use a multi-sided nail file, starting with the roughest side and progressing to the finest. Or start with 100 grit sandpaper, reaching up to 2000 grit.
Step 15: Add the metal elements
Add the rings, hooks, pendants, and/or chains to your jewelry after the resin edges are smoothed and cleaned. Choose them in a style and color of your choice to match the resin jewelry.
Start by drilling a small hole for the rings near the top of the jewelry, making sure not to drill too close to the edge.
💡TIP: Drill the jewelry on a piece of wood to prevent damage to the table surface from the drill.
Using pliers, open the jump ring, pass it through the hole, and close it again. Attach a second jump ring to the first, adding an earring hook (or post) before closing it again.
Ако правите огърлица, за да я завършите, пробийте дупка близо до горната част на висулката, като внимавате да не пробиете твърде близо до краищата. С помощта на клещи отворете халката и я поставете в пробития отвор. Използвайте клещите, за да я затворите. Повторете тази стъпка, като добавите втора халка към първата. Изберете дължината на вержката, която искате за огърлицата, и я прекарайте през втората халка. Ако сте избрали метална основа за вашата огърлица, то е необходило да залепите на нея бижуто от епоксидна смола
🥰 Your jewelry is now finished and ready to wear! 🥰