

Making Easter eggs with epoxy resin can be an interesting and creative project. Epoxy resin is a great material that allows the creation of bright and durable decorative elements. This is an interesting idea with which you can surprise your loved ones for the holiday.
What materials are needed?

- Silicone egg molds
- Epoxy resin AHD20
- Disposable gloves
- Protective mat
- Mixing container
- Stirring stick
- Dyes and/or pigments
- Small mixing cup and stirrer for each dye used
- Pebbles, flakes, Scandinavian moss, dried flowers, and other decorative elements to embed in the eggs as desired
- Lid to cover against dust
- Heat gun or torch
Necessary steps to make the eggs
- Gather your materials
- Prepare the resin
- Add the dyes (pigment)
- Pour the resin
- Decorate with gold, glitter, glass pebbles, Scandinavian moss, and other decorative elements as you wish
Step 1: Preparing the materials

When you start working with the resin, prepare all your materials and tools before measuring and mixing. Cover your work surface with a silicone mat to keep the workspace clean.
Step 2: Preparing the resin
With glovesmeasure on a scale and mix the resin and hardener according to the instructions on the label, in the case of AHD20 – 2 parts resin to 1 part hardener. Pour both components into a measuring cup and stir slowly for 3–5 minutes until the mixture becomes clear and homogeneous. Slow stirring is key to avoid creating more bubbles!

💡TIP: If your resin has crystallized (which sometimes happens when stored in cooler rooms), heat the resin and hardener bottles (closed) in a warm water bath until the crystals completely melt. Make sure the water does not come into contact with the resin and dry the bottles thoroughly before opening.
Step 3: Adding the colorants
Divide the resin into as many equal parts as the number of colors you want your egg to contain: pour it into smaller cups, one for each dye, and leave the remaining clear resin in the mixing cup. Add pigment dye to the small cups. Stir well.
Step 4: Pouring the resin
- Make sure the silicone mold is clean and dry
- Pouring the resin. If you want the colors to blend, you can add them gradually one after another into the mold. However, if you do not want them all to mix, you need to pour one layer of epoxy resin with the desired dyes and decorative elements, wait for it to dry completely for 3-5 days, and then pour a second layer.
- If needed, you can add more clear or colored epoxy resin until the mold of your egg is completely filled
- Use a torch or heat gun to remove all bubbles, but work quickly to avoid burning the resin or molds
- Cover with a dust lid and leave to cure for about 36 hours
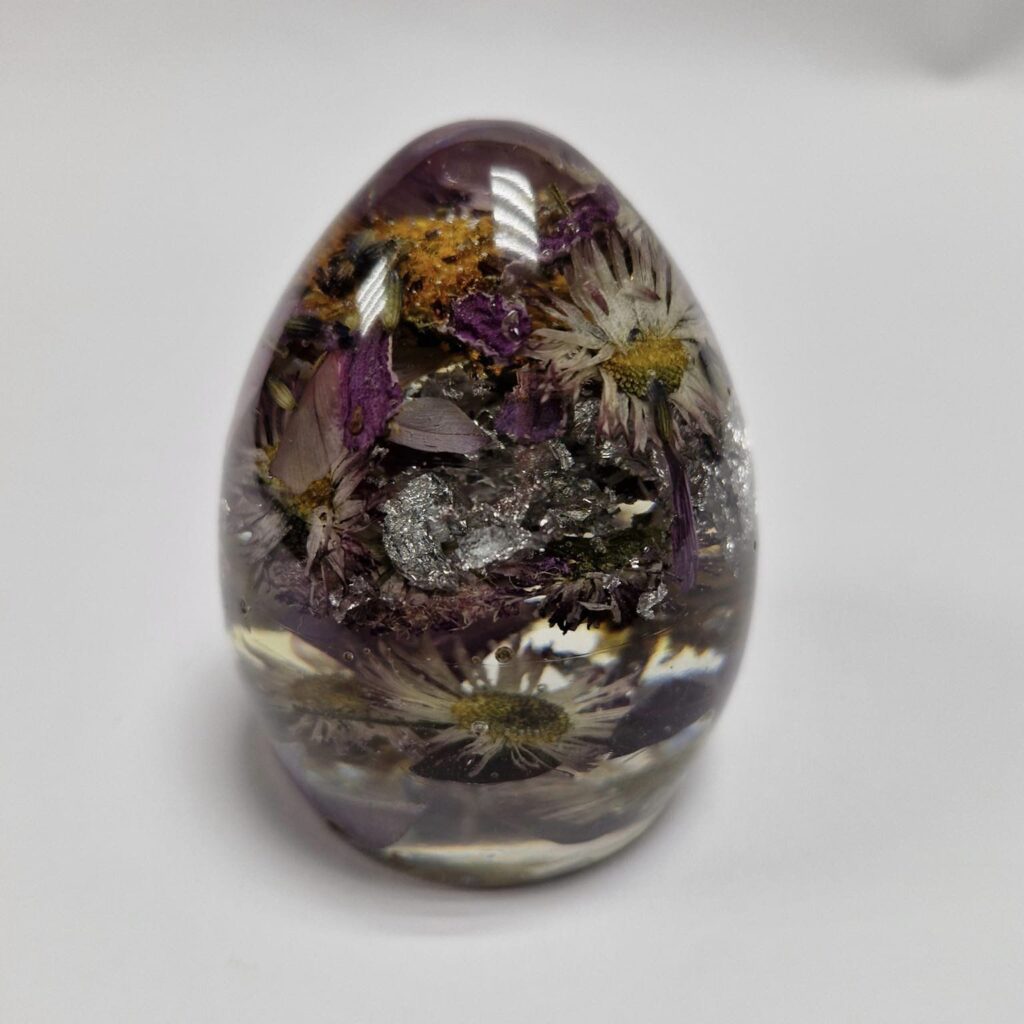
Step 5: Demolding
Remove the eggs from the mold after 3-5 days.
🎉 Done!
Now you have unique, handmade epoxy resin eggs that can be the perfect gift for your loved ones.
We hope you enjoyed learning how to create your own unique epoxy resin eggs. Follow us on social media so you don’t miss more tutorials, new materials, techniques, and promotions.